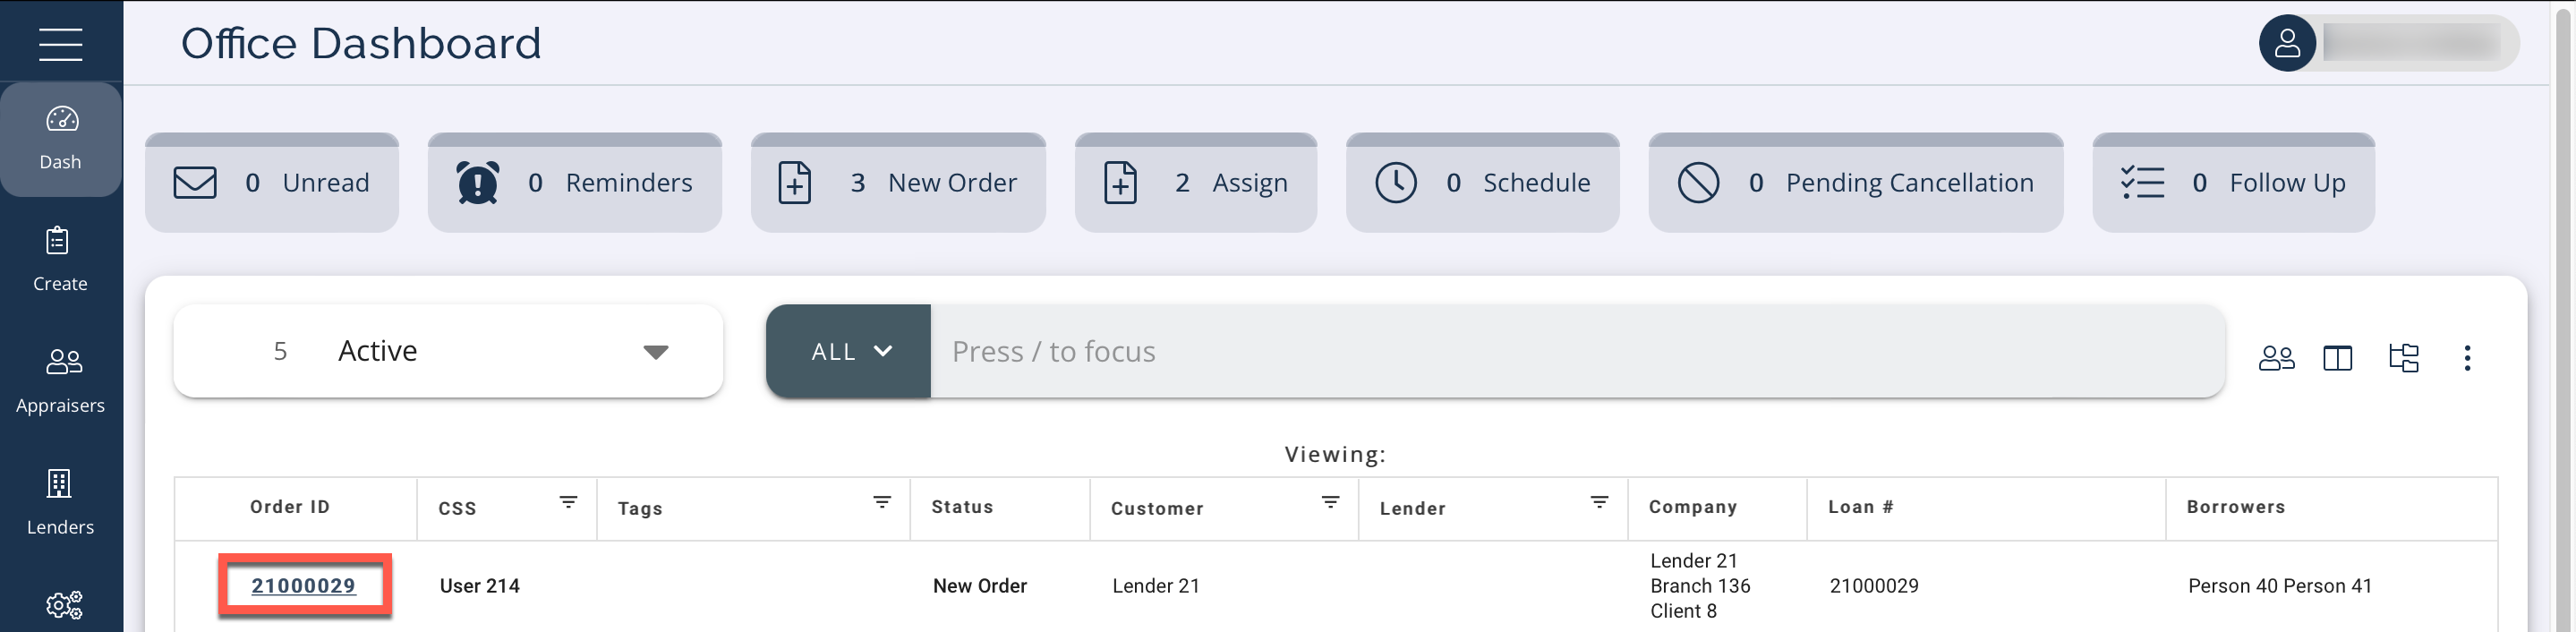
The Order screen will change based on the current status of the order. To open an order, go to the Dashboard and click the Order ID:
The Order screen displays. Below the order information at the top of the Order screen you can see a bar indicating the order status:
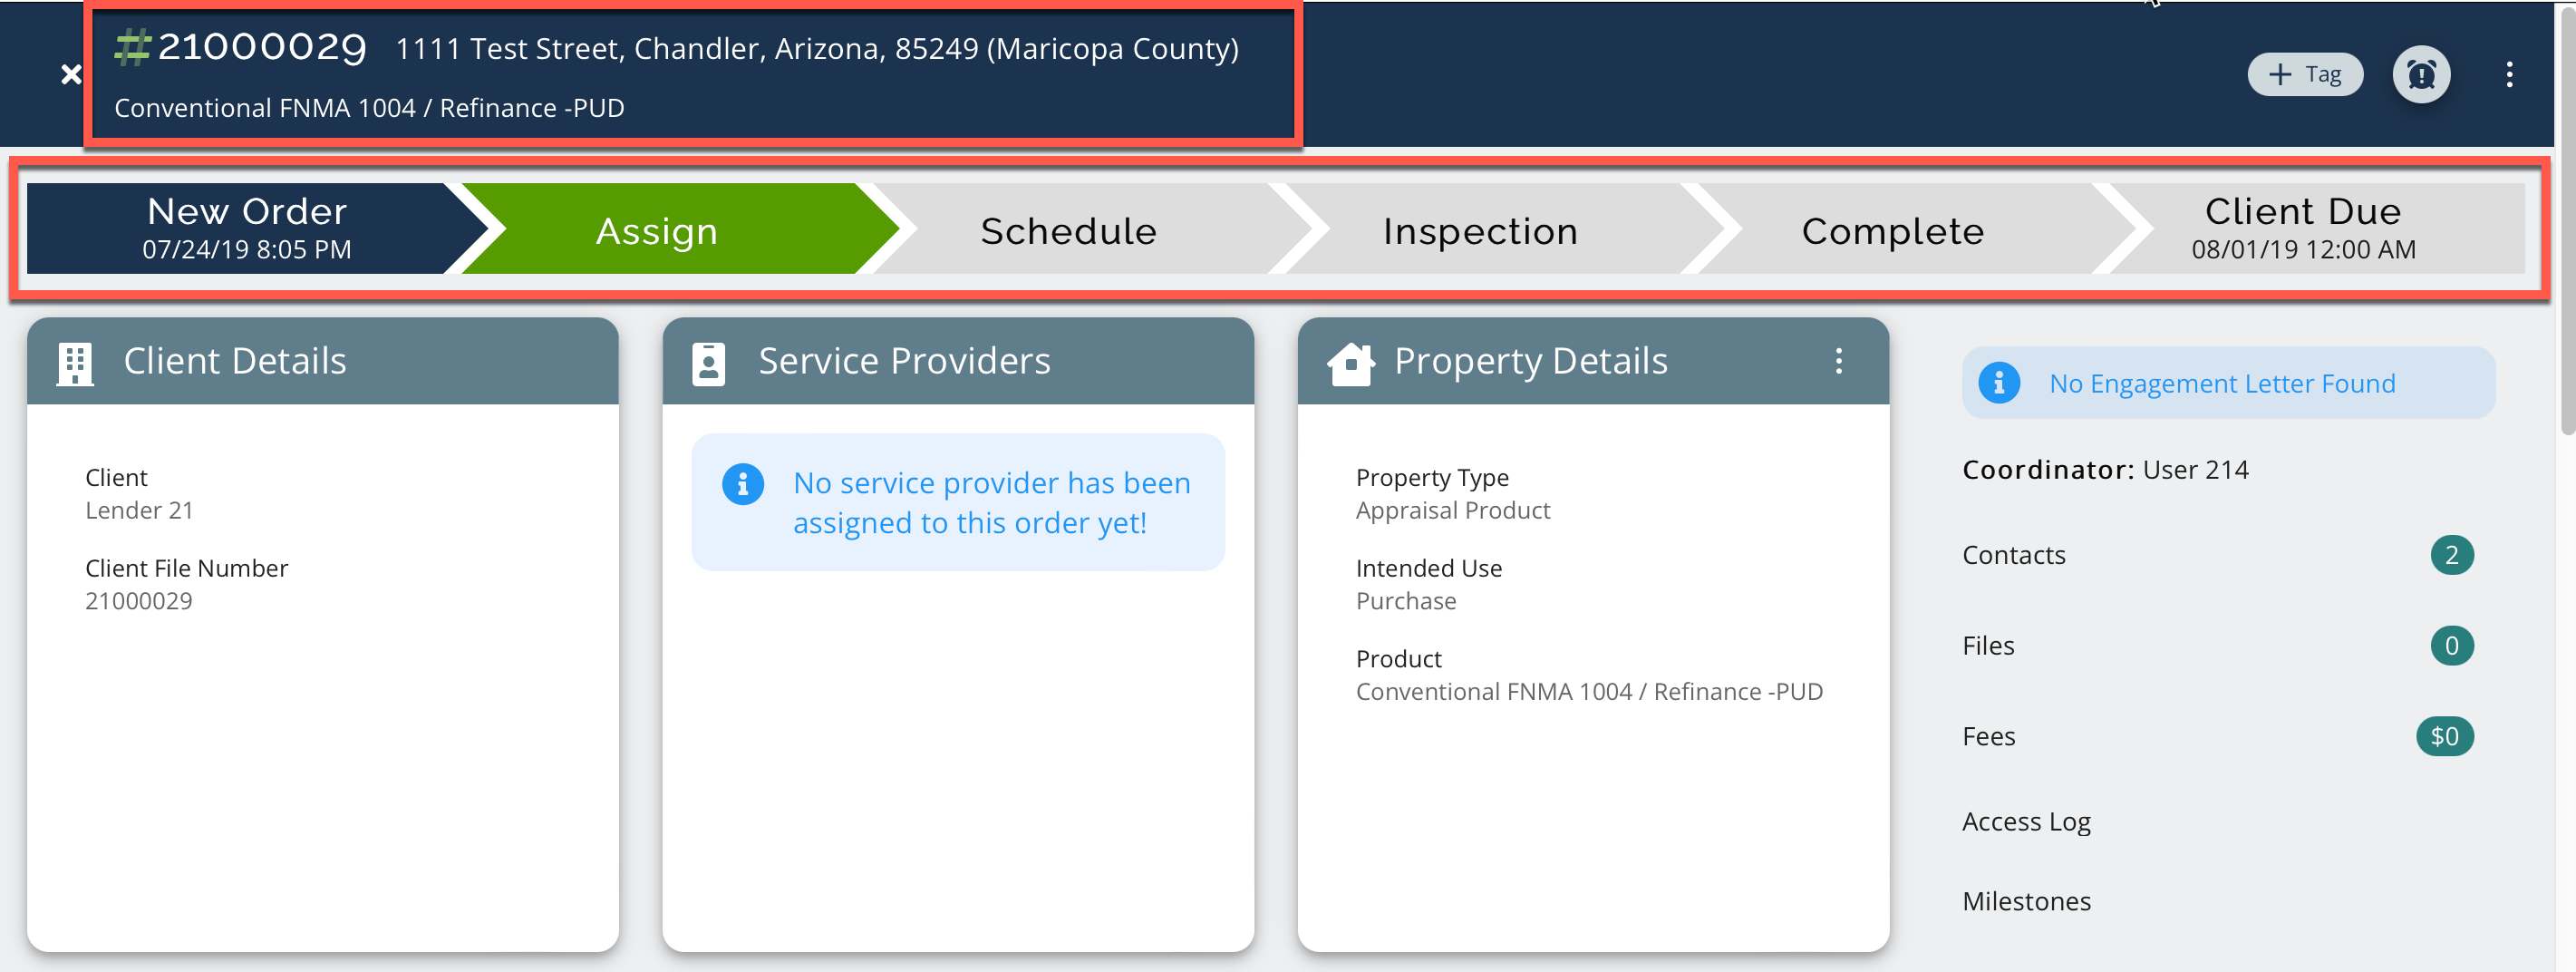
Below the three detail tiles, you will see a different section based on the status of the order.
First you will see the Assign Appraisal panel:
.png)
You can select the Team tab to assign a team of appraisers or the A-Z tab to assign one appraiser to all of the tasks.
If you select Team:
1. Select a Primary Appraiser.
2. Select appraisers for Inspection, Data and Review. If you want to use the Primary Appraiser for a specific task, click the Is Primary checkbox on the right of that task.
3. Assign a Fee for each task.
4. Click the Assign Team button in the bottom right.
<screenshot>
If you select A-Z:
1. Choose an appraiser from the table. The assigned appraiser will do all tasks for the order.
2. Click Assign.
3. Enter a fee for that appraiser on the order.
Next, the appraiser must Accept, Accept with Conditions, or Decline using the radio buttons in the Accept or Decline section:
.png)
To Accept with Conditions, click the appropriate radio button.
To add a fee:
.png)
Click Fee and enter the fee amount. Add notes and click Conditionally Accept.
To add a due date:
.png)
Click Due Date and select the date on the calendar. Enter notes and click Conditionally Accept.
Note: If you enter a fee or date, the Notes section will pre-fill a message for you.
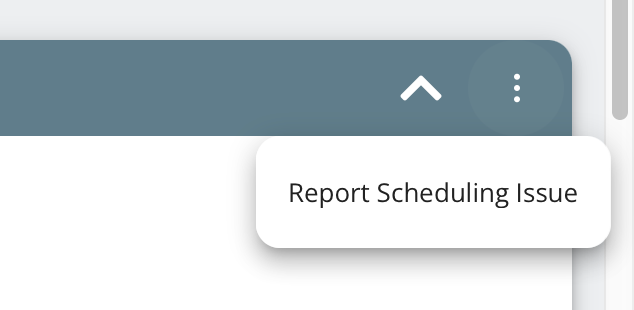
Next, you must schedule the inspection in the Schedule Inspection section:
.png)
Select the date and time from the calendar and clock. Click the Schedule button.
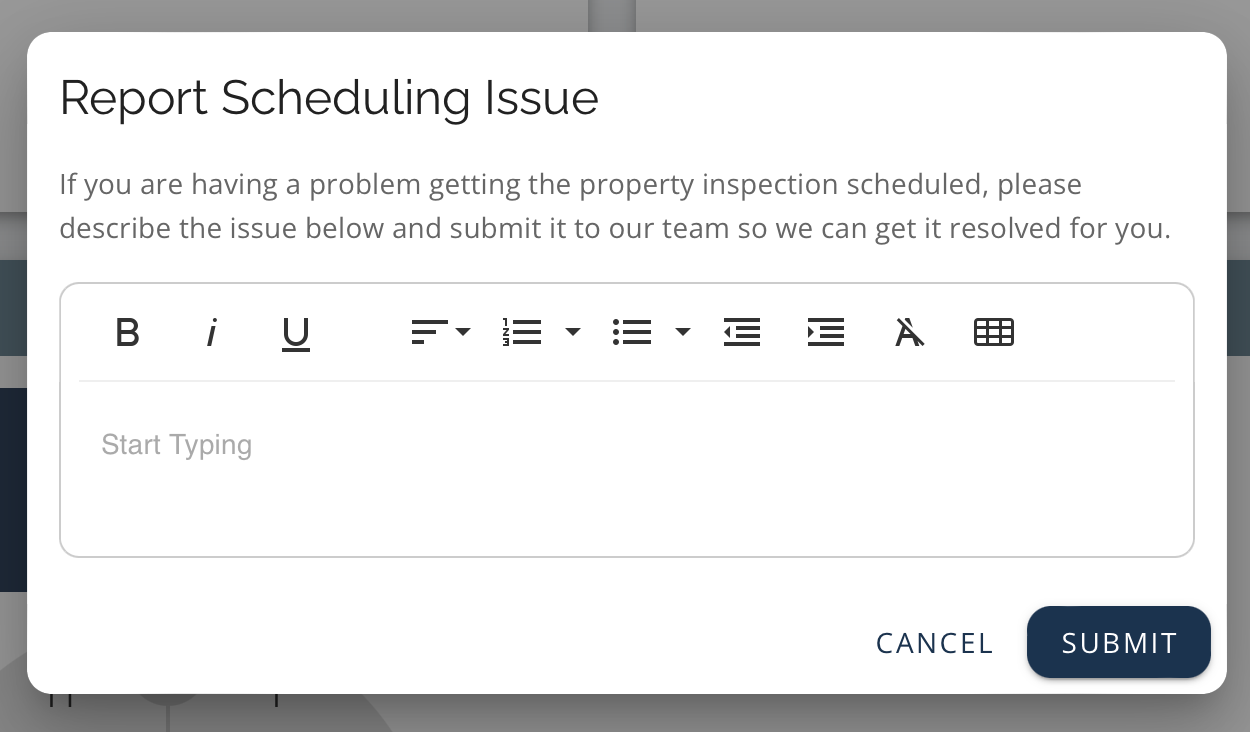
If there. is a problem, you can click the three dot menu and select Report Scheduling Issue:
Enter the reason for the issue in the Report Scheduling Issue box and click Submit:
While the inspection is in progress, the Waiting Inspection section displays:
.png)
To cancel the inspection, click the Cancel Inspection button.
If you have completed the inspection early, click Change Inspection Date and change the date to the current date so that the Complete Inspection section displays.
Finally, the Complete Inspection section displays:
.png)
Upload the Zap and Xml Files for the inspection. You must upload both. You can drag-and-drop the files into the boxes shown or browse for them on your device.
Click the Upload File & Complete Order button.