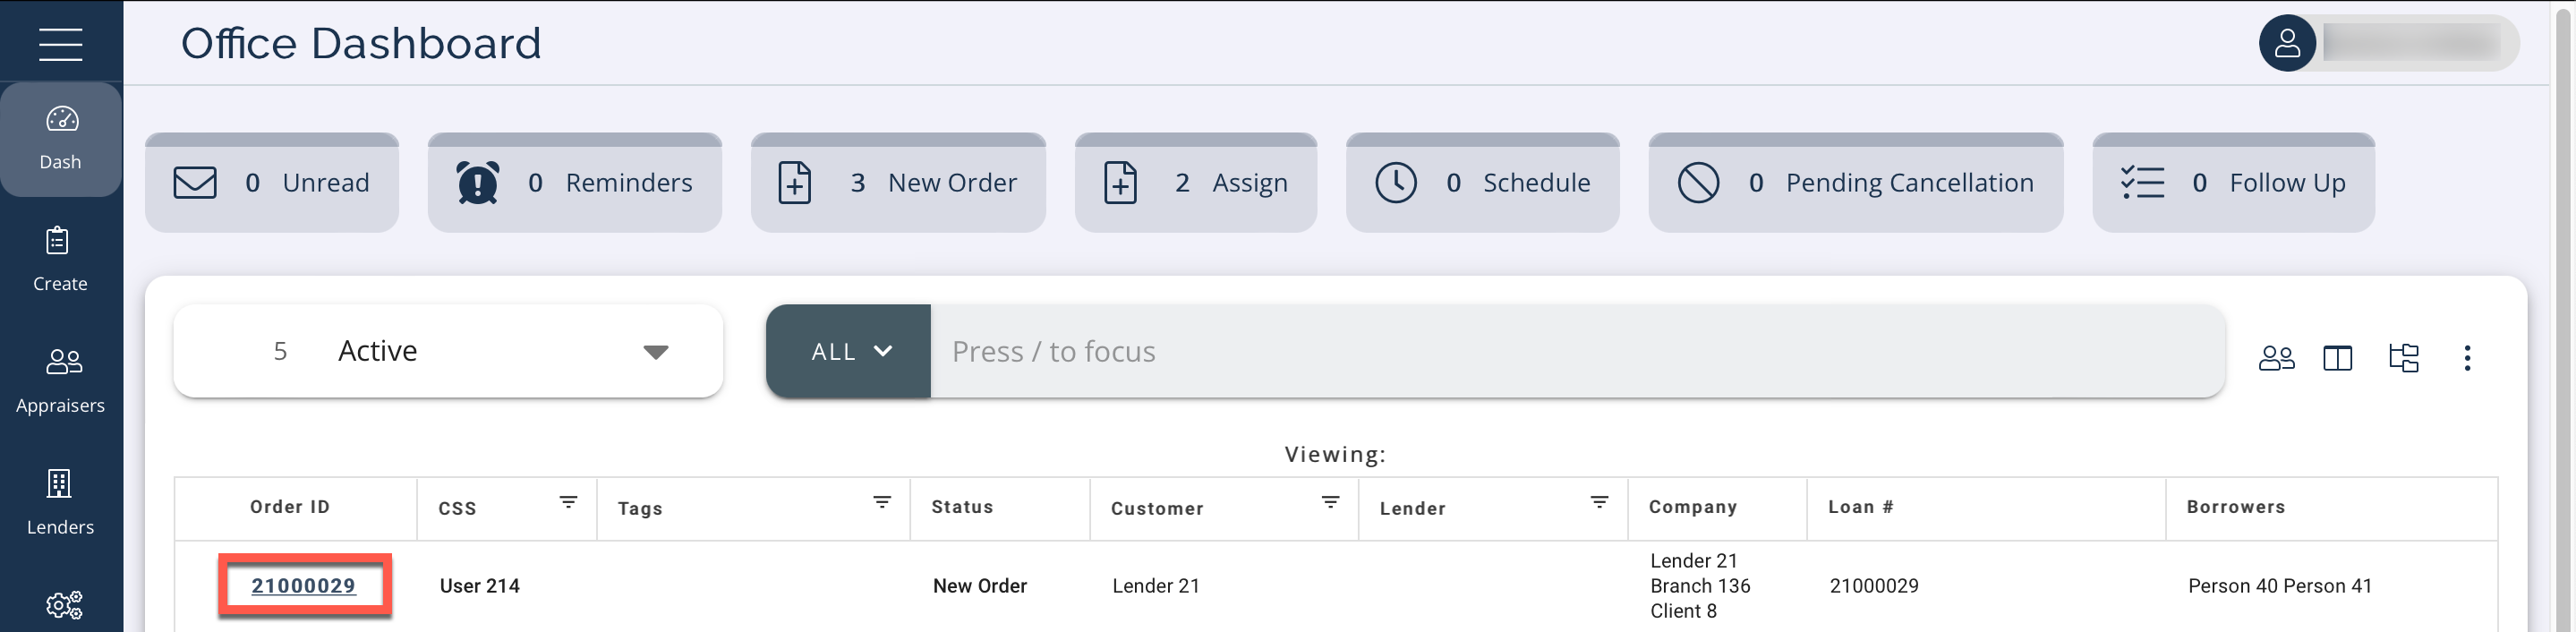
When you select an order, you can see the order details. From the Dashboard, select an Order ID or right click anywhere on the order row and click Open Order.
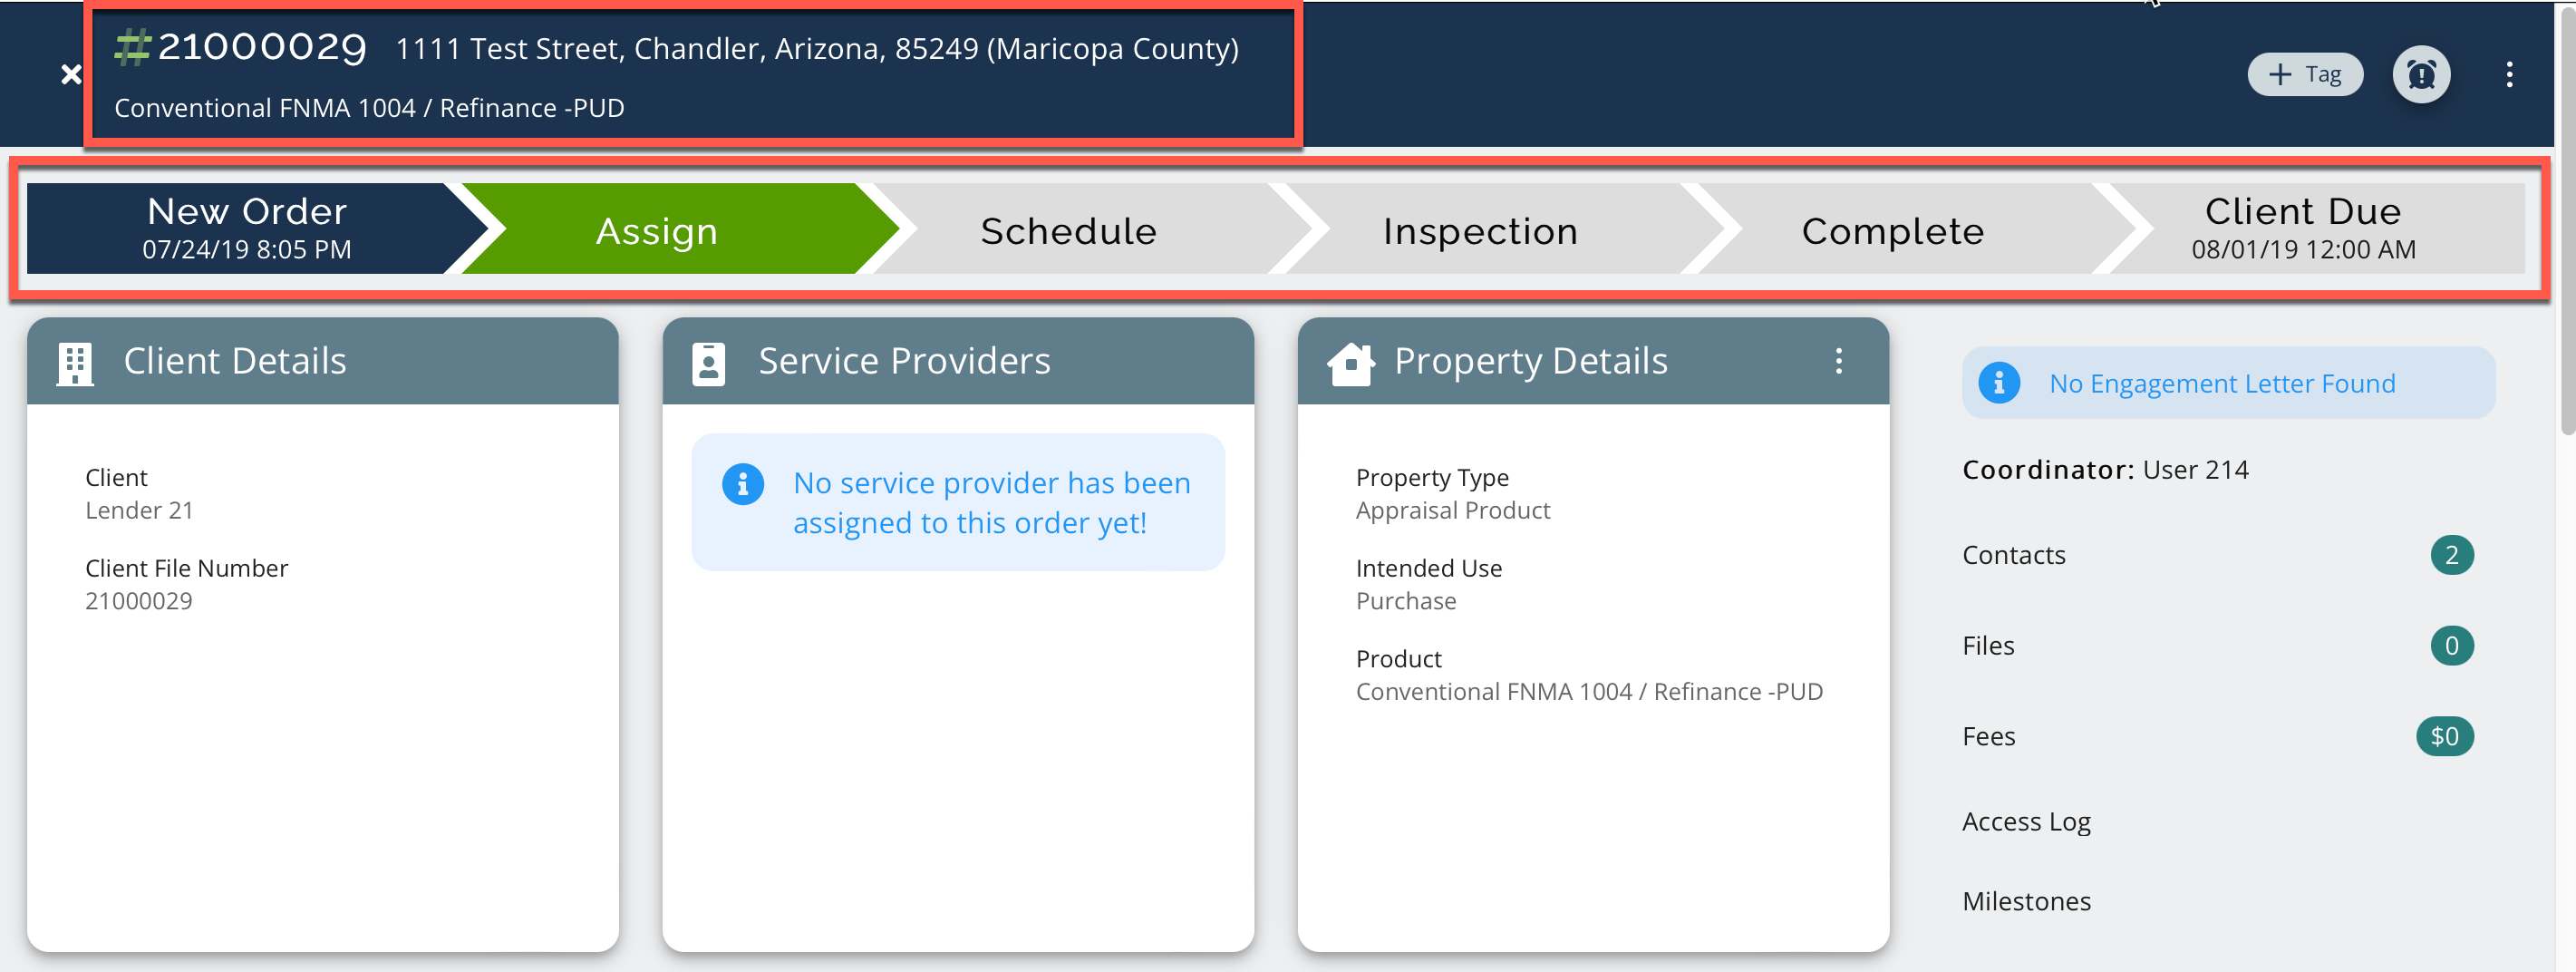
The Order screen displays. At the top you can see the basic order information like order number, address, county, and type of loan. Below that a Status Bar displays the status of the order:
Use the icons in the top right to perform tasks:
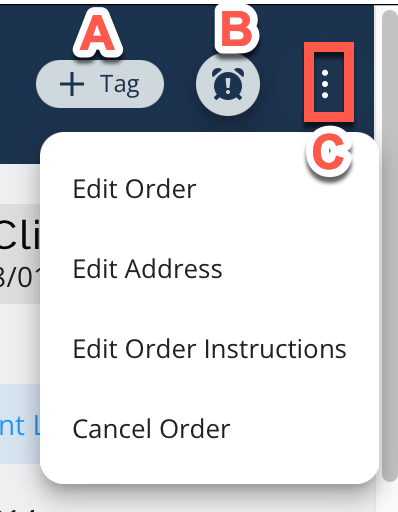
Click + Tag to add a tag to the order (A).
Click the Alarm Clock icon to set a reminder. You can select a date and time and the order will populate at that time in the Reminders Queue Tab on the Dashboard screen (B).
Click the three dot menu to Edit Order, Edit Address, Edit Order Instructions, or Cancel Order (C).
If another user currently has this order open, you will see an Also viewing this file notice in orange near the top, including the user's name:

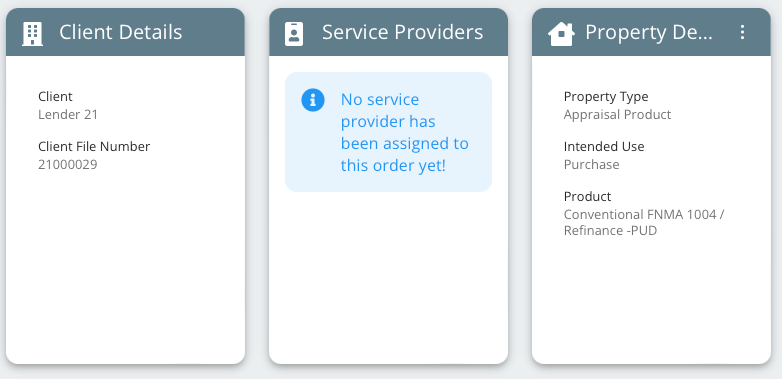
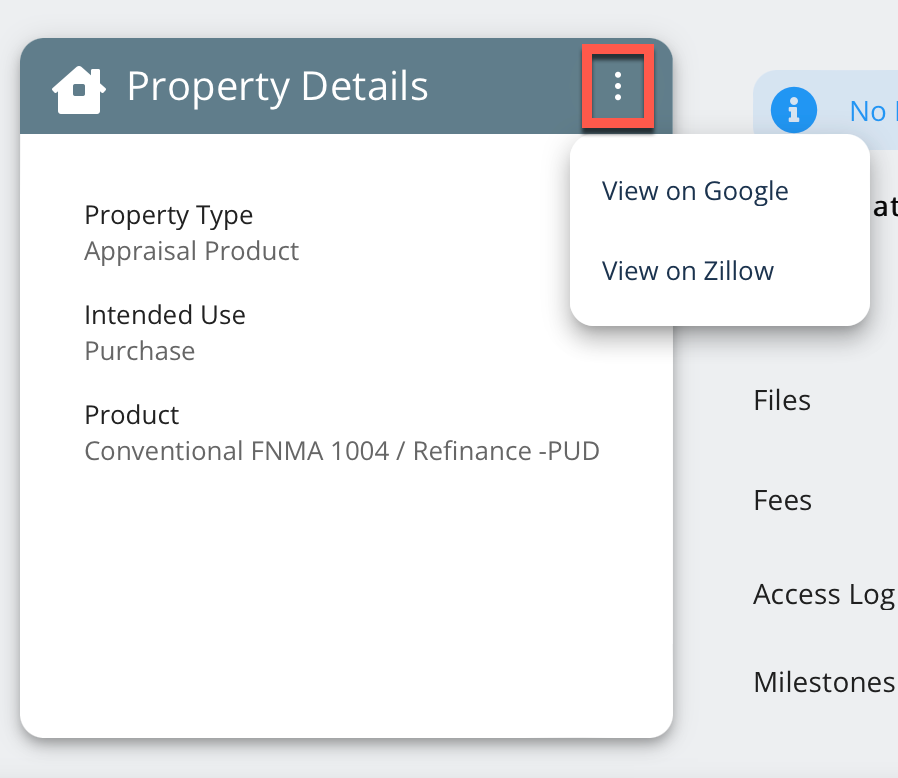
There are three tiles showing more order details: Client Details, Service Providers, and Property Details. When the order is assigned, the provider information populates in the Service Providers tile:
To see the property on Google or Zillow, click the three dot menu on the Property Details tile:
Click any of the items in the information section on the far right to see more information:
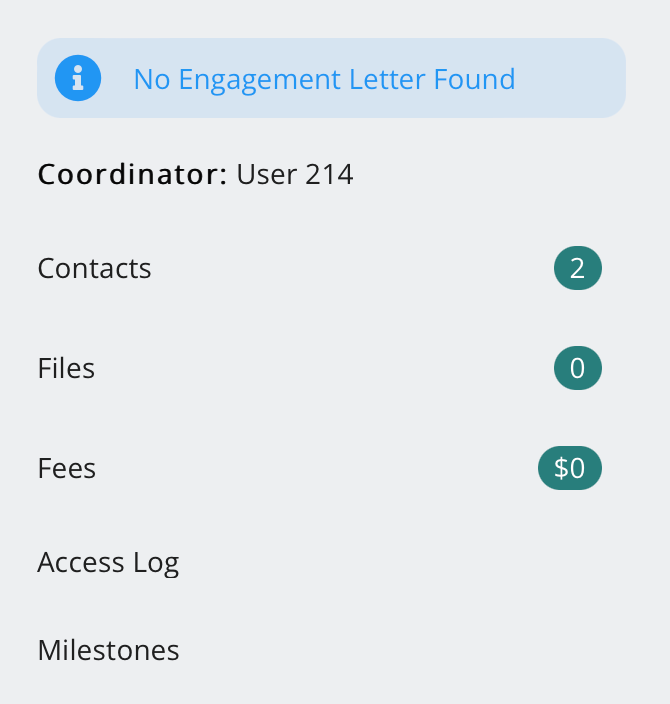
The Details Panel displays:
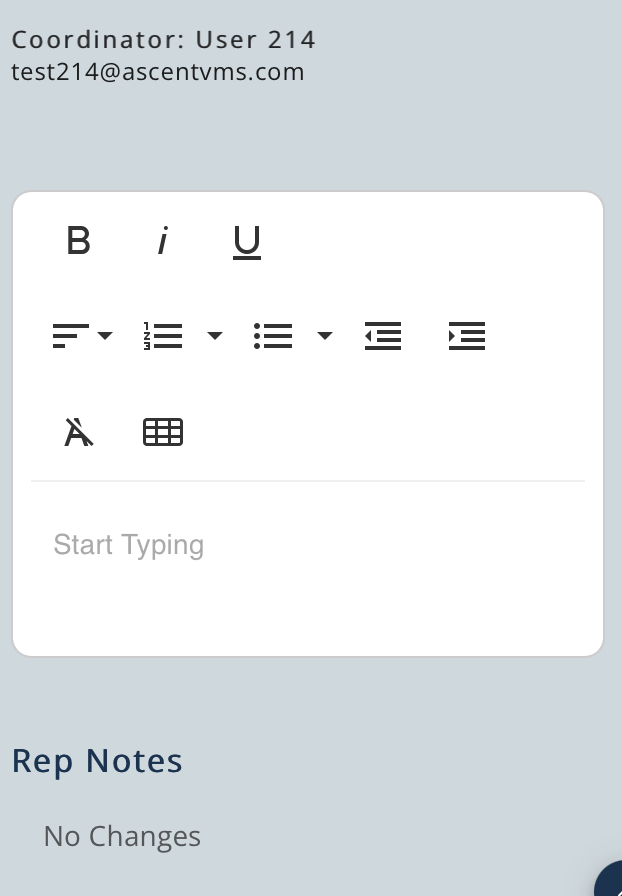
Click Coordinator to see the Coordinator Panel:
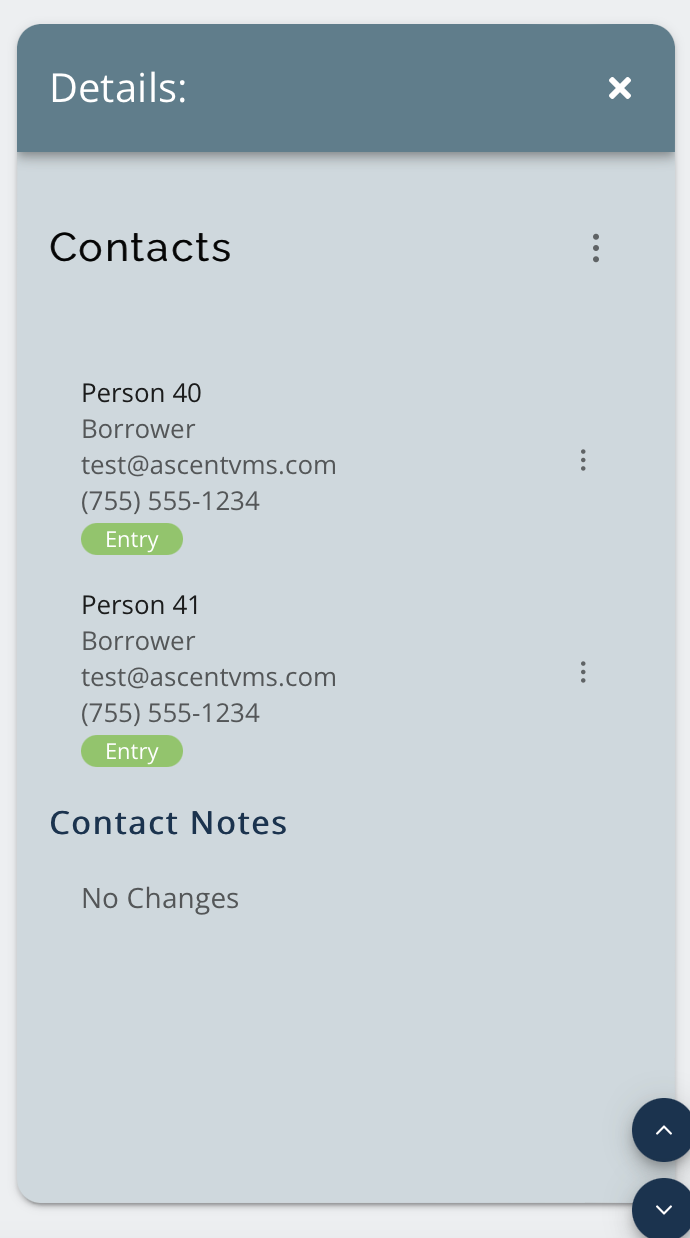
Click Contacts to see the Contacts Panel:
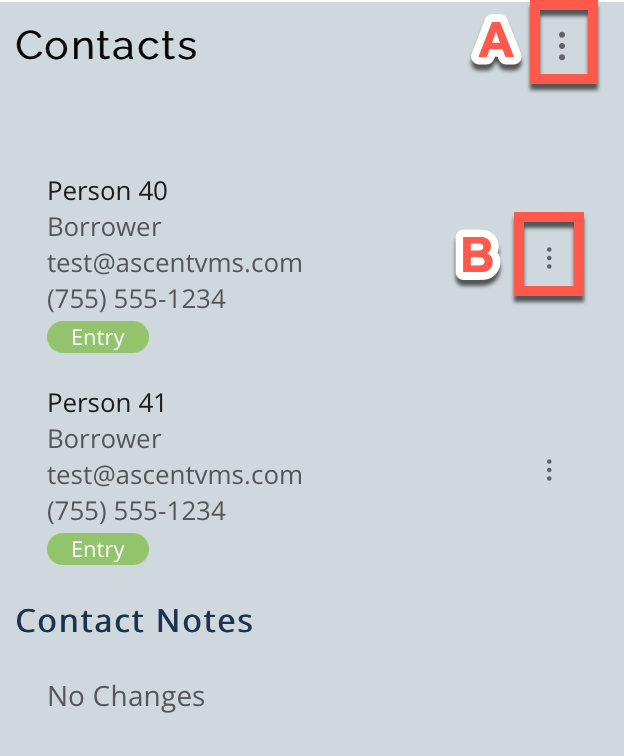
Add a contact using the top three dot menu and click Add Contact (A).
Edit or delete a contact using the three dot menu to the right of the appropriate contact (B).
Click Files to see the Files Panel which contains attached Files and File Notes:
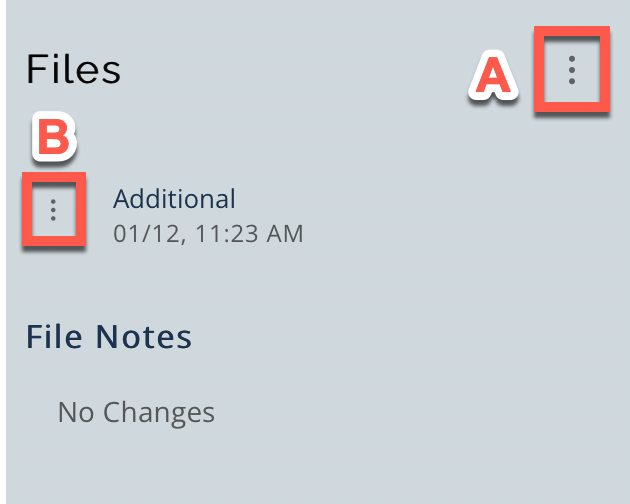
Click the three dot menu in the top right to Add New File (A).
Click the three dot menu to the left of a file to Download or Edit (B).
Click Fees to see Total and Allocated fees:
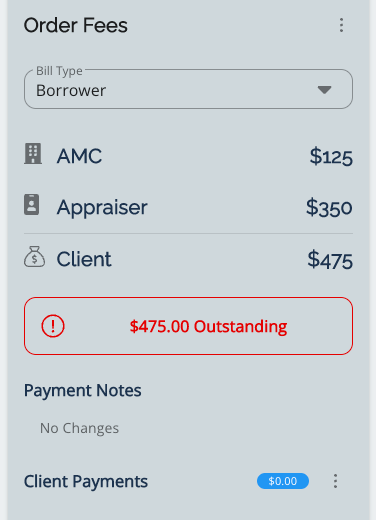
There may be notes associated with these fees in panel as well.
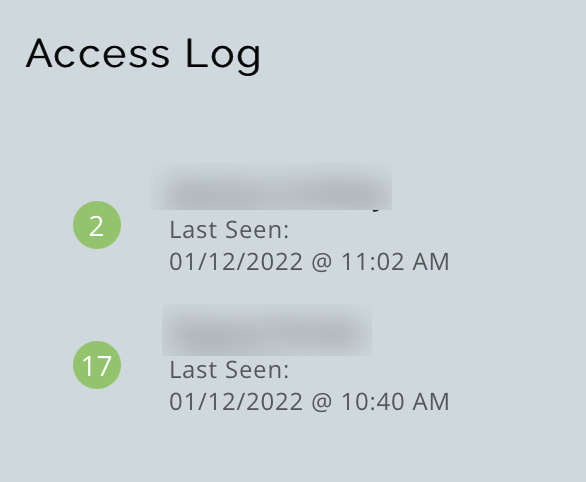
Click Access Log to see a history of who has recently viewed this order and how many times they have accessed it:
Click Milestones to see a list of order milestones:

Below that section you will see the current status order workflow (see Order Workflow). The process is:
Assign Appraisal > Accept or Decline > Schedule Appraisal > Waiting Appraisal > Complete Appraisal
At the bottom of the Order screen, you can view and add notes in the Notes section:
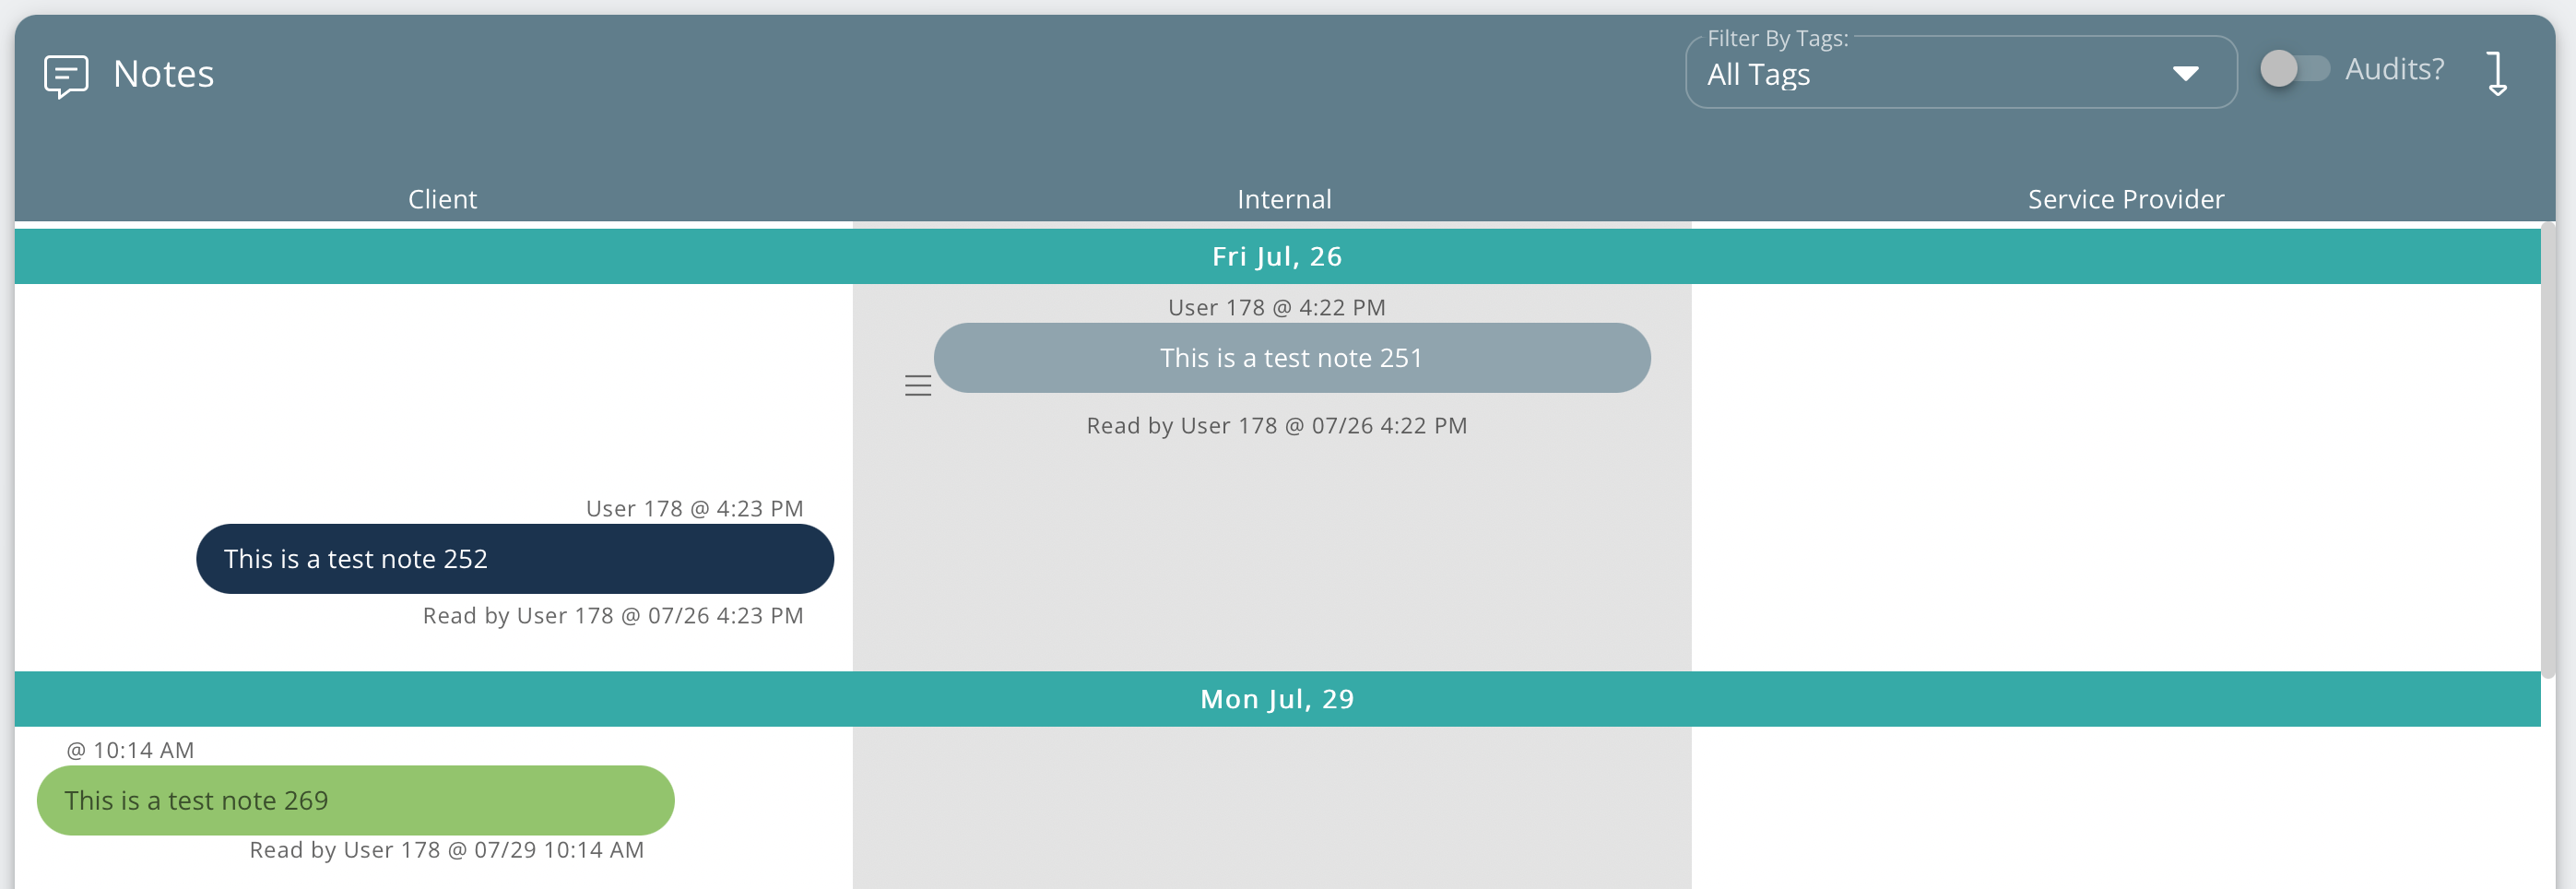
Perform different tasks using the icons and filter at the top:
 You can sort tags by the Filter By Tags drop-down (A).
Click the New Message icon to read new notes (B).
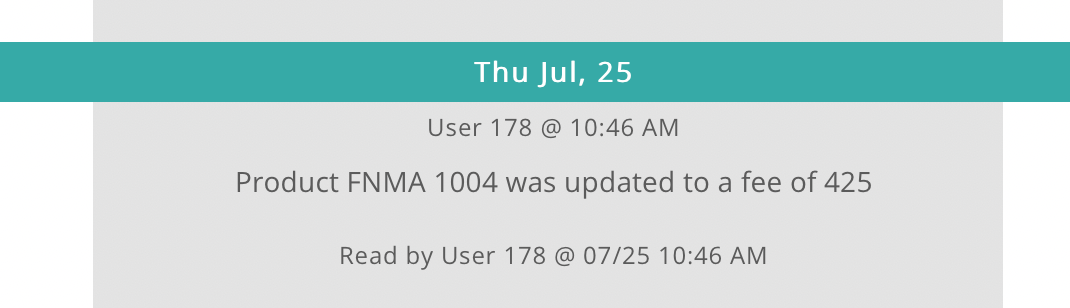
Toggle Audits? off and on to show or hide audit notes automatically populated by the system to track order events (C):
Click the Down Arrow icon to quickly navigate to the bottom of the Notes section (D).
Right-click a note to Mark as Read, Add Tag, Copy Note, or view note Tracking:
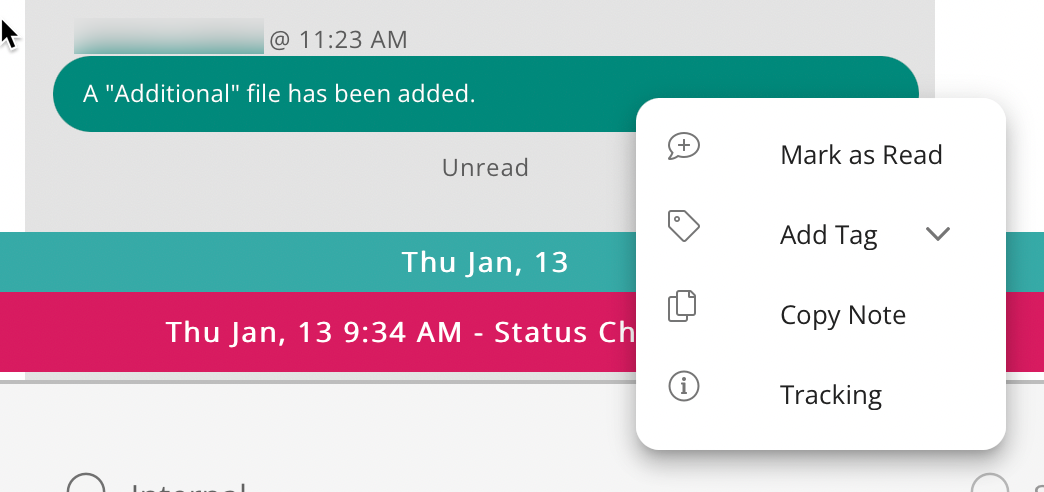
Please note that if you Mark as Read, this removes the order from the Unread Queue tab on the Dashboard for all users.
To add a note:
1. Click the Client, Internal or Service Provider radio button to choose who the note is for (Service Provider will be disabled if there is not one for the order):

2. Enter your note in the field that says "Start Typing":

3. Optionally, click CC Email and enter the email below to CC someone on your message. Click the drop-down arrow and select the recipient from the list or manually type another email address in the Carbon Copy Emails field:

4. Optionally, click the Tag icon to add tags:

5. When you are done, click + Add Note.
Certain behind-the-scenes events will create a red Status Change bar or an Audit note.
A new Status Change bar displays when the order progresses to a new status.
Some Audit events are: